Tools and Preparation
Print
Created by: Samer Albahra
Modified on: Sat, 31 Jan, 2015 at 4:40 PM
Assembly of the project requires some basic tools. If you've worked with electronics before, you may already have these tools, in which case you can simply skip this section.
These tools are not included in the kit, but are easy to get from retail or online stores such as Amazon or Radio Shack. Below I provide the ones I would recommend, but feel free to pick your own version. For the ease of mind, you can simply get a 'beginner tool kit' from SparkFun.com or Adafruit.com, which usually includes all the tools you need at great savings.
If you've never soldered before, it's useful to check out some tutorials online, such as the one by Ladyada or SparkFun. Soldering is not difficult. If you are prone to error, get a desoldering pump (see below) to help you fix mistakes. Practice makes perfect!
Required Tools
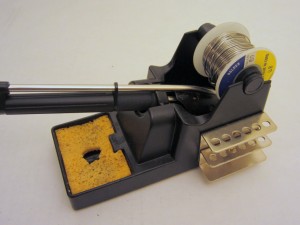 |
Soldering iron with solder and stand. A soldering iron with a conical or small screwdriver tip is the ideal for this project. I've used a few different soldering irons including the Weller WLC100, Aoyue 936 (both are around $40 from Amazon), and a cheap $20 one from Radio Shack. They all have worked well. Optional but worth considering is a fume extractor (also called smoke absorber), which can suck away the solder fume and make the soldering process more pleasant! |
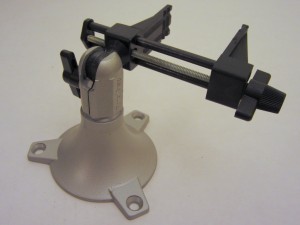 |
PCB holder. A PCB holder is useful for holding the circuit board still while soldering. The PanaVise 201 ('Junior') is a popular model and is about $20 from Amazon. If you are going to work with large PCBs in the future, I would recommend getting the PanaVise 324, which is bigger and a lot more solid. |
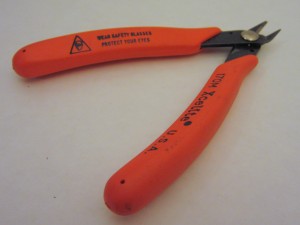 |
Shear cutter or diagonal cutter. Essential for cutting leads close to the PCB. A must-have tool for soldering through-hole components. Instead of buying it alone, I recommend getting a 'mini pliers tool set', which includes the cutter and other useful pliers. |
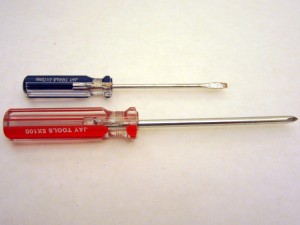 |
Screwdrivers. You need a couple of basic screwdrivers to fix the board to the enclosure, and to fix sprinkler valve wires to the terminal blocks. |
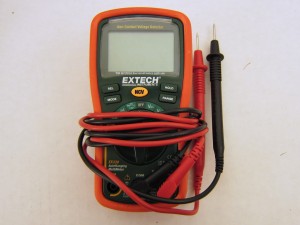 |
Multimeter. A basic multimeter which can measure voltage, current, resistance, and continuity is sufficient for this project. For example, the cheap ones that cost $10-$20 work just fine. But for good investment, I recommend getting a decent multimeter that can perform a variety of measurements at high accuracy, as the multimeter is absolutely essential for working with electronics. Fluke RMS auto-ranging multimeters are great though expensive, and Extech EX330 is a good inexpensive alternative. |
Recommended Tools
(not essential for this project but are highly recommended to keep at hand)
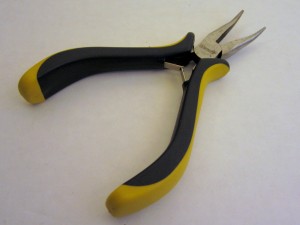 |
Pliers. Needle nose pliers or flat nose pliers are useful for bending component lead. As mentioned above, I recommend getting a mini pliers combo set such as this one. |
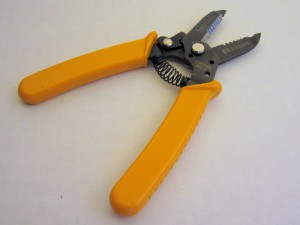 |
Wire stripper and cutter. Generally useful for cutting and easy stripping wires of different sizes. |
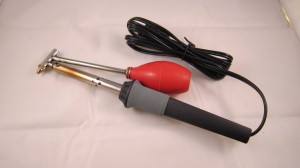 |
Desoldering Iron. For taking components off PCB and fixing soldering mistakes. This one is from RadioShack. It has 45W power and a rubber bulb. Cheap and handy. Best desoldering tool I've used. |
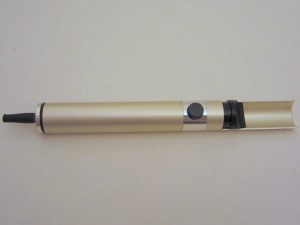 |
Solder sucker (desoldering pump). Similar to above but does not come with a heating unit. This is more common but not as easy to use nor as effective. |
Samer is the author of this solution article.
Did you find it helpful?
Yes
No
Send feedback Sorry we couldn't be helpful. Help us improve this article with your feedback.


